

System Requirements
Before installing Sabes Pro, verify your studio workstation meets these setup requirements:
- Operating System: Windows 10 or Windows 11 (64-bit).
- Memory & CPU: Standard system memory and processor capable of running your host DAW.
- Supported DAWs: Ableton Live, Cockos Reaper, FL Studio, Steinberg Cubase, Nuendo, or Avid Pro Tools.
- Disk Space: Sufficient free disk space on your system drive for the encrypted local repository index.
Step 1: Download and Install Sabes Pro
Download the installer from our official Download page. Double-click the installer and follow the standard Windows wizard. During installation, Sabes Pro registers a lightweight background file watcher service that monitors session saves.
Step 2: Initialize Master Passphrase & Local Repository Location
When you open Sabes Pro for the first time, you will create a master passphrase. This passphrase derives your AES-256-GCM key using Argon2id.
Default Repository Path: By default, Sabes Pro initializes your local repository at C:\Users\YourUsername\.sabes-repo. If you prefer to store your repository on a secondary NVMe drive, click Custom Repository Location before setting your passphrase.
Security Warning: Sabes Pro does not store your passphrase on central servers. If you lose your passphrase, local repository snapshots cannot be recovered. Save your passphrase in a password manager or physical notebook.
Step 3: Select Your DAW Project Directories
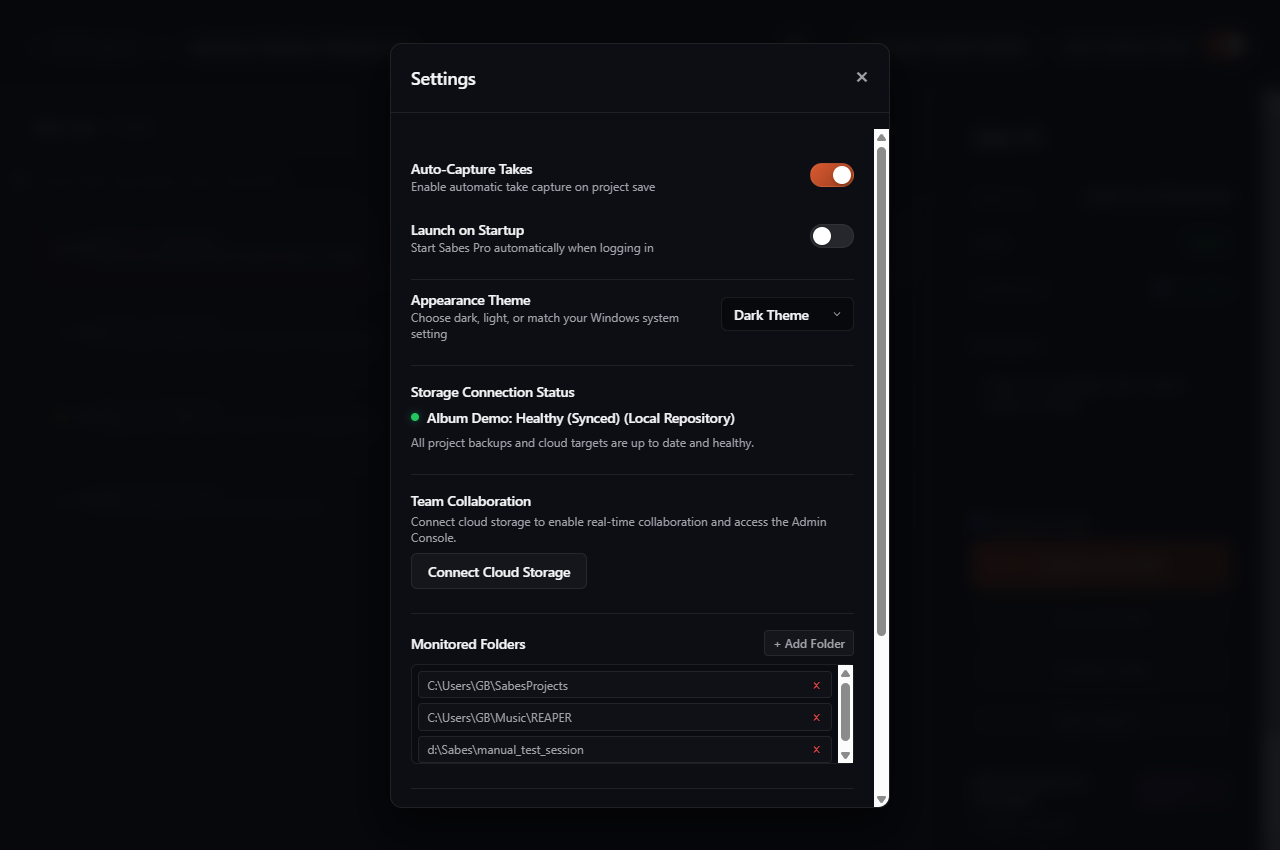
On the main workspace setup screen, click Add Monitored Folder. Browse to the folders where you save your DAW sessions. Common examples include:
C:\Users\Producer\Documents\Reaper MediaD:\Studio Projects\Ableton Live ProjectsE:\FL Studio Projects
Sabes Pro scans the directory recursively for session files (.als, .rpp, .flp, .cpr, .ptx) and begins monitoring background file changes immediately.
Step 4: Verify Your First Save Capture
- Open your DAW (e.g., Reaper or Ableton Live) and open any session file.
- Make a minor edit and press Ctrl+S to save.
- Look at your Windows system tray icon in the taskbar. You will see a notification confirming the save.
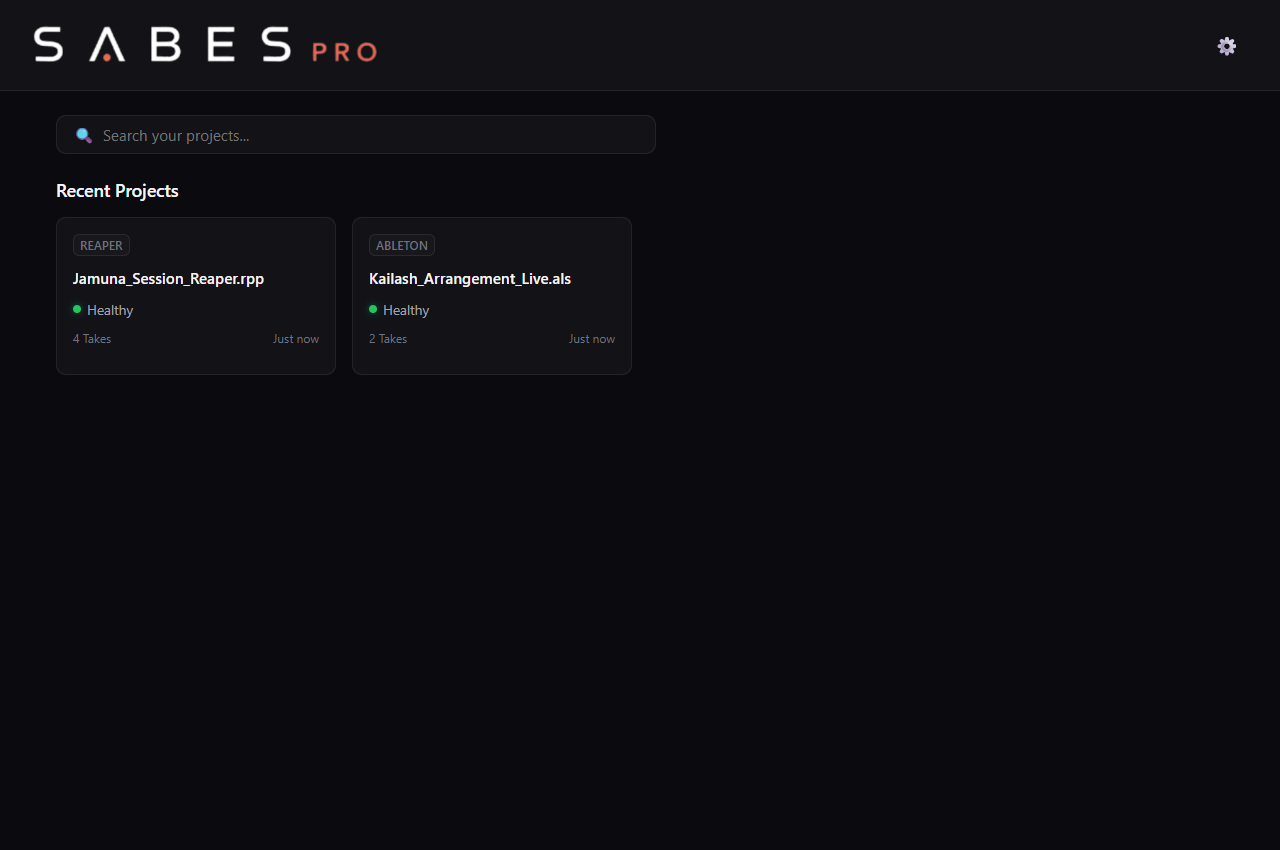
- Open the Sabes Pro dashboard. Your project card will show a green status dot with your latest save timestamp and a newly created Take node.
Next Steps
Now that your DAW folders are monitored, view our guide on Understanding the Take Reel & Timeline to learn how to pin milestone mix versions and compare snapshot history.